hexo+github搭建博客
1.搭建基本Hexo博客
前言:之前博客用的WordPress,插件特别多,结果注意力全在后台配置,浪费时间。使用hexo搭建静态博客,不需要自建服务器,只需要一个github账号,配合github page使用。下面介绍如何搭建。
1.搭建环境
1、安装 Node.js: https://nodejs.org/en/
windows下点击链接,下载安装即可;Linux下更加简单,在终端下输入sudo apt-get install nodejs即可。
2、安装 Git: https://github.com/waylau/git-for-win
3、安装完成后,鼠标右键菜单打开“Git Bash”,设置名称和邮箱。
1 | git config --global user.name "your name"; |
4、安装Hexo。使用 npm安装Hexo,npm的安装请自行网上查找。
1 | $ npm install -g hexo-cli |
2.配置github
首先注册、登录 https://github.com/ ,其中自己的Username很重要(之后的创建仓库以及博客github.io域名会用到
在本地bash终端生成密钥文件
1 | ssh-keygen -t rsa -C "Github的注册邮箱地址" |
生成后的id_rsa和id_rsa.pub默认在C:\Users\asus.ssh
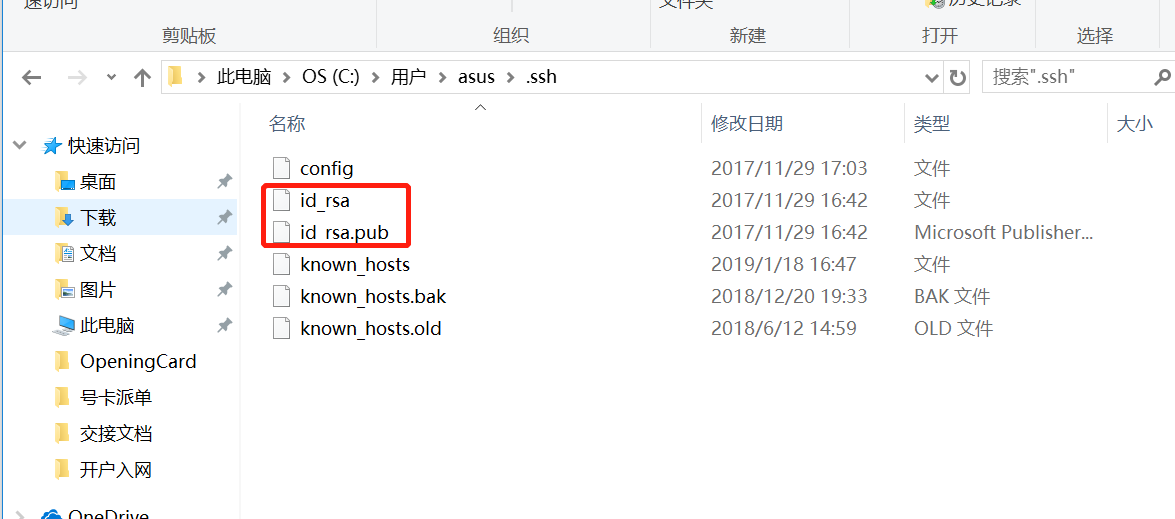
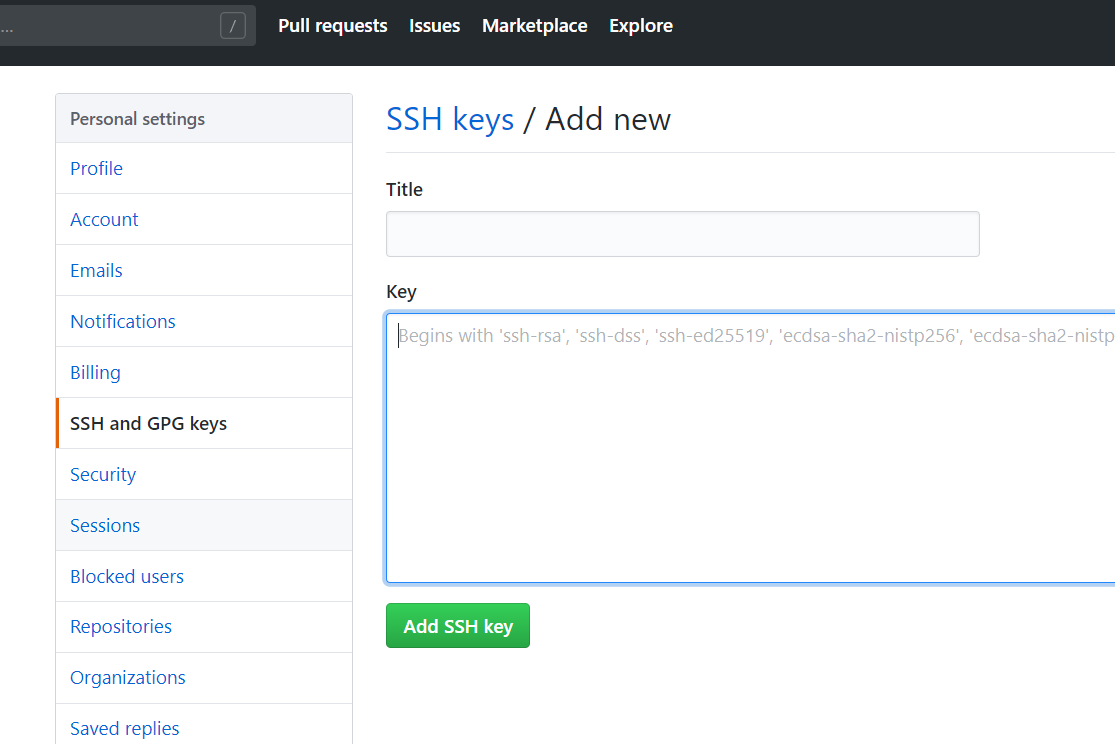
用文本编辑器打开id_rsa.pub,复制全部内容,打开https://github.com/settings/ssh点击New SSH key,将复制的内容粘贴到Key,Title任意,点击Add SSH key保存密钥
3.初始化博客
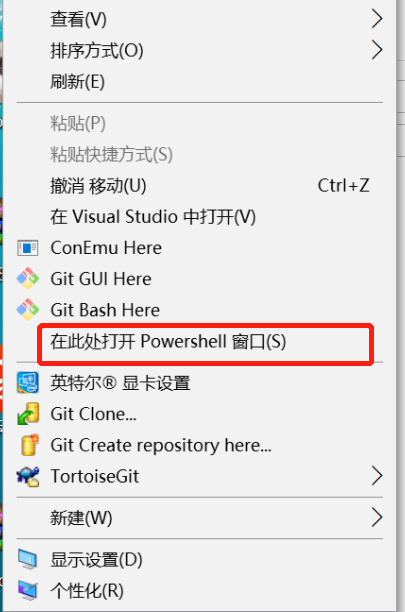
在本地电脑任意文件夹新建MyBlog文件夹,进入文件夹,按住Shift打开命令提示符
输入:
1 | hexo init blog |
稍等片刻初始化完成,初始化完成后文件夹下会生成名字为blog的博客项目,通过任意开发工具(本人使用的IntelliJ IDEA)打开项目,会发现source\_posts目录下默认带有hello world文章
1 | $ hexo generate |
本地启动成功,浏览器窗口打开http://localhost:4000/,可以看到网站的初始模样
4.配置并初始化博客仓库
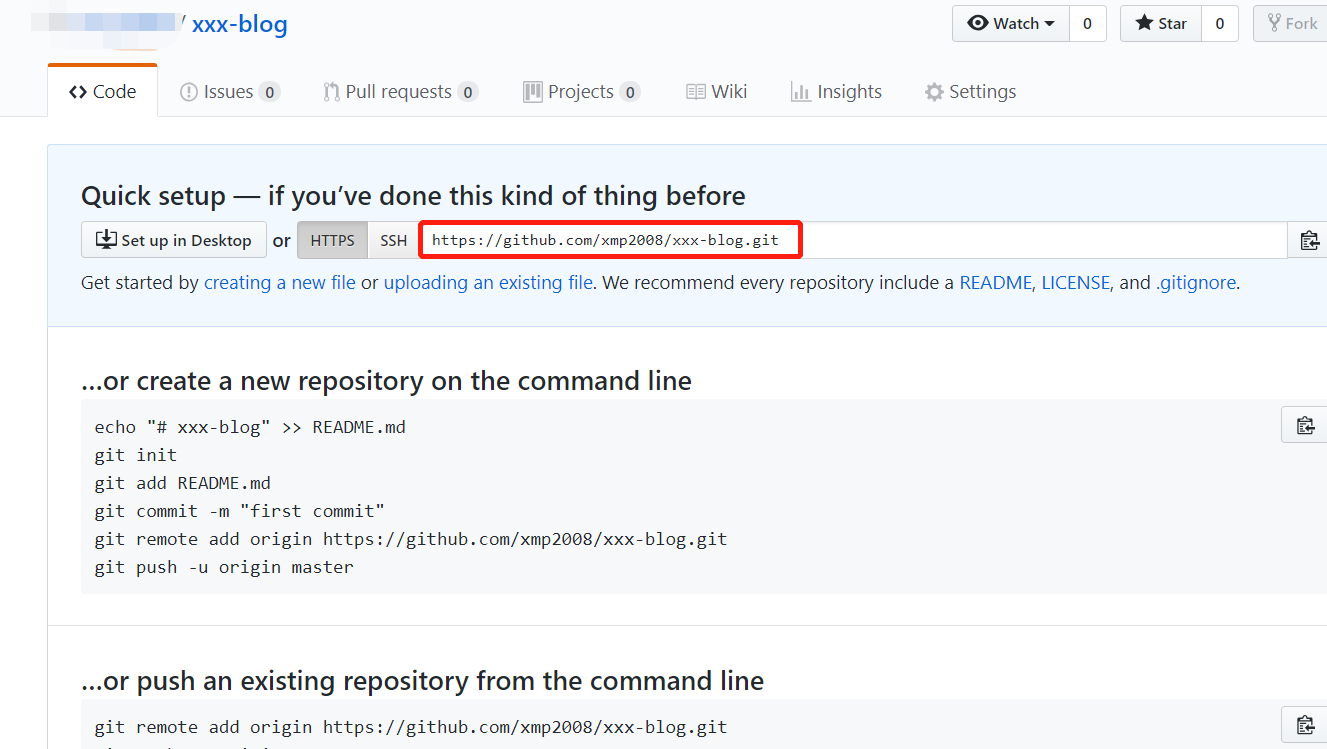
在自己的github里面新建博客仓库,输入仓库名称,例如:xxx-blog

新建博客仓库后复制仓库地址
打开项目配置文件_config.yml,定位到deploy,将复制的仓库地址粘贴到repo,分支默认选择master
1 | # Deployment |
此外,可将_config.yml中的repo修改为如下标准格式:
1 | repo: https://用户名:密码@github.com/用户名/用户名.github.io.git |
这样做的好处就是每次hexo deploy提交时不需要输入账号密码。
定位到URL,修改如下:
1 | # URL |
url里面github前面的xxx对应你的GitHub账号名称
在本地博客项目所在目录打开bash,部署项目到github
1 | $ npm install hexo-deployer-git --save |
1 | $ hexo g |
1 | $ hexo d |
执行hexo d命令后会提示输入github账户密码
注:hexo g = hexo generate ,hexo d = hexo deploy
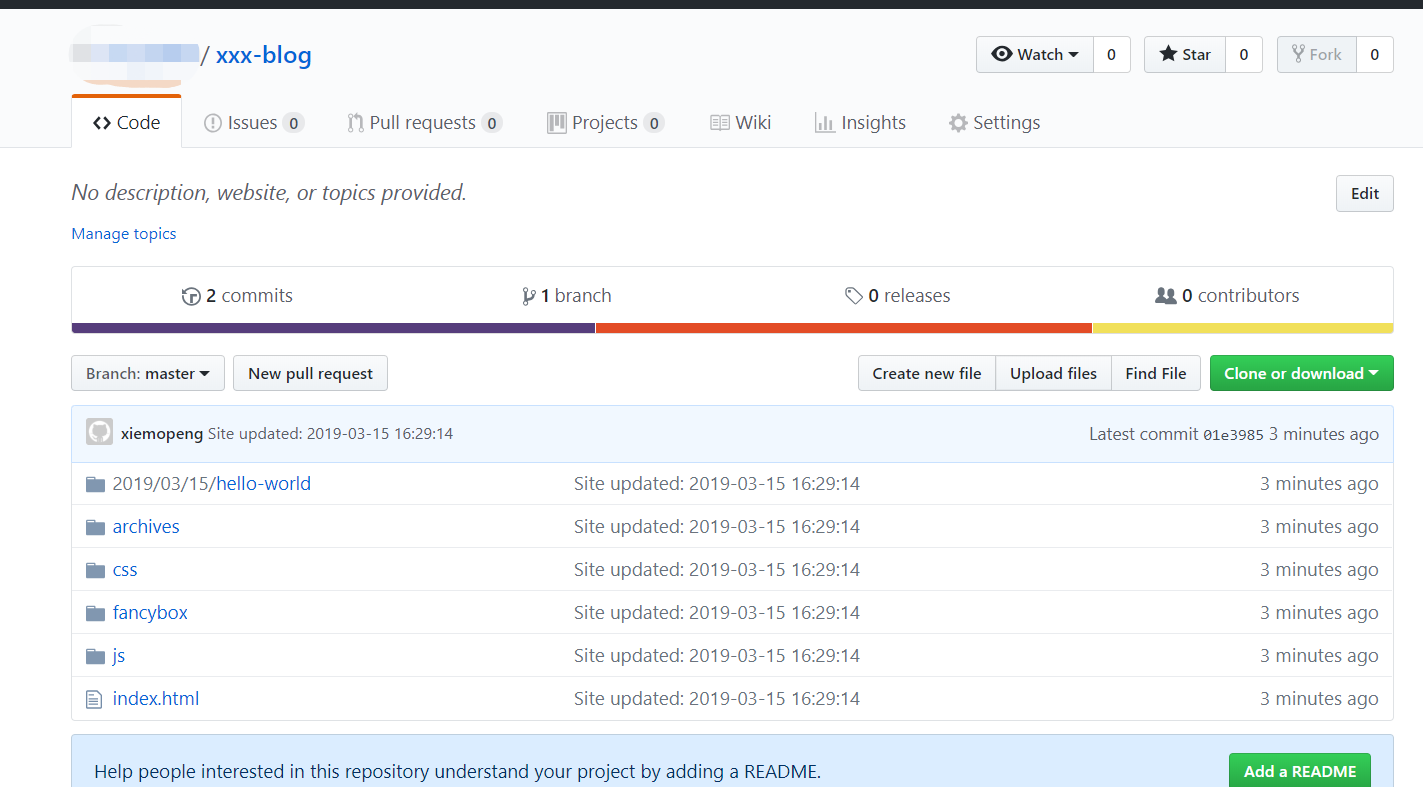
部署完成后打开博客仓库:
5.配置Github Pages
打开xxx-blog博客仓库对应到的设置Setting页面
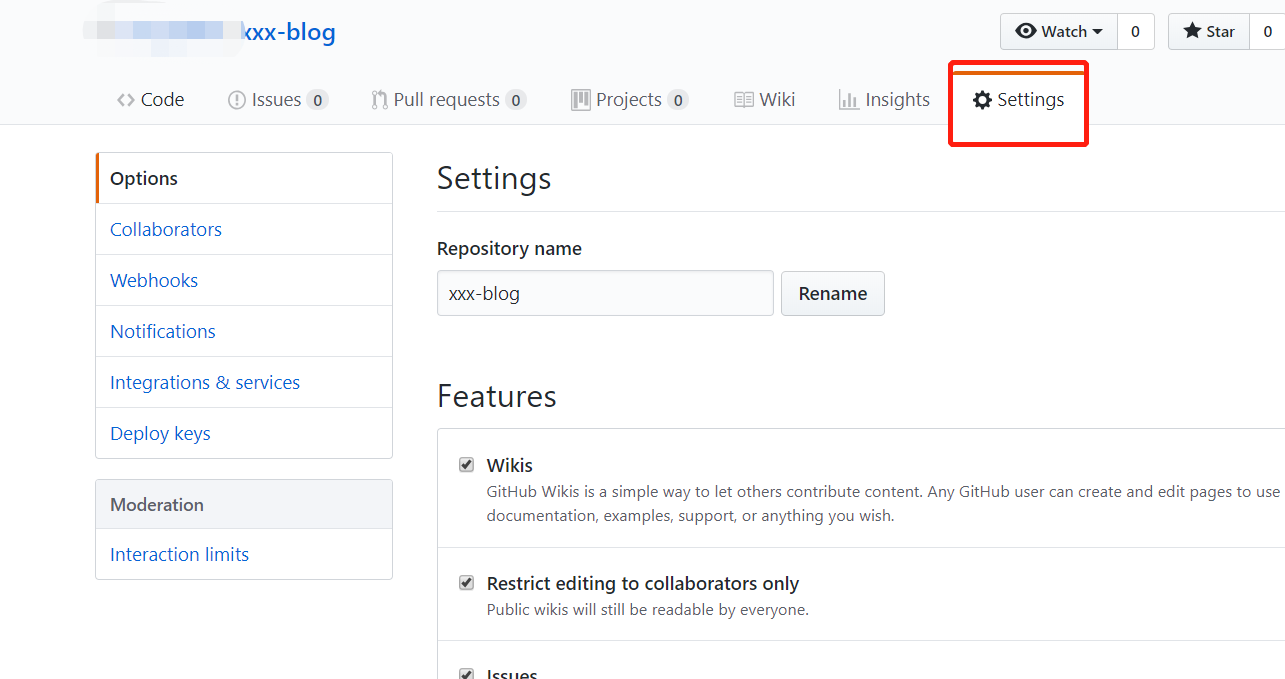
在GitHub Pages下选择默认的master分支,随后生成博客地址,打开博客地址看能否正常访问,至此博客部署完成

参考文献
Hexo+GitHub博客搭建实战